Family Shelter Tent Setup: Weather-Ready Outdoor Living Room
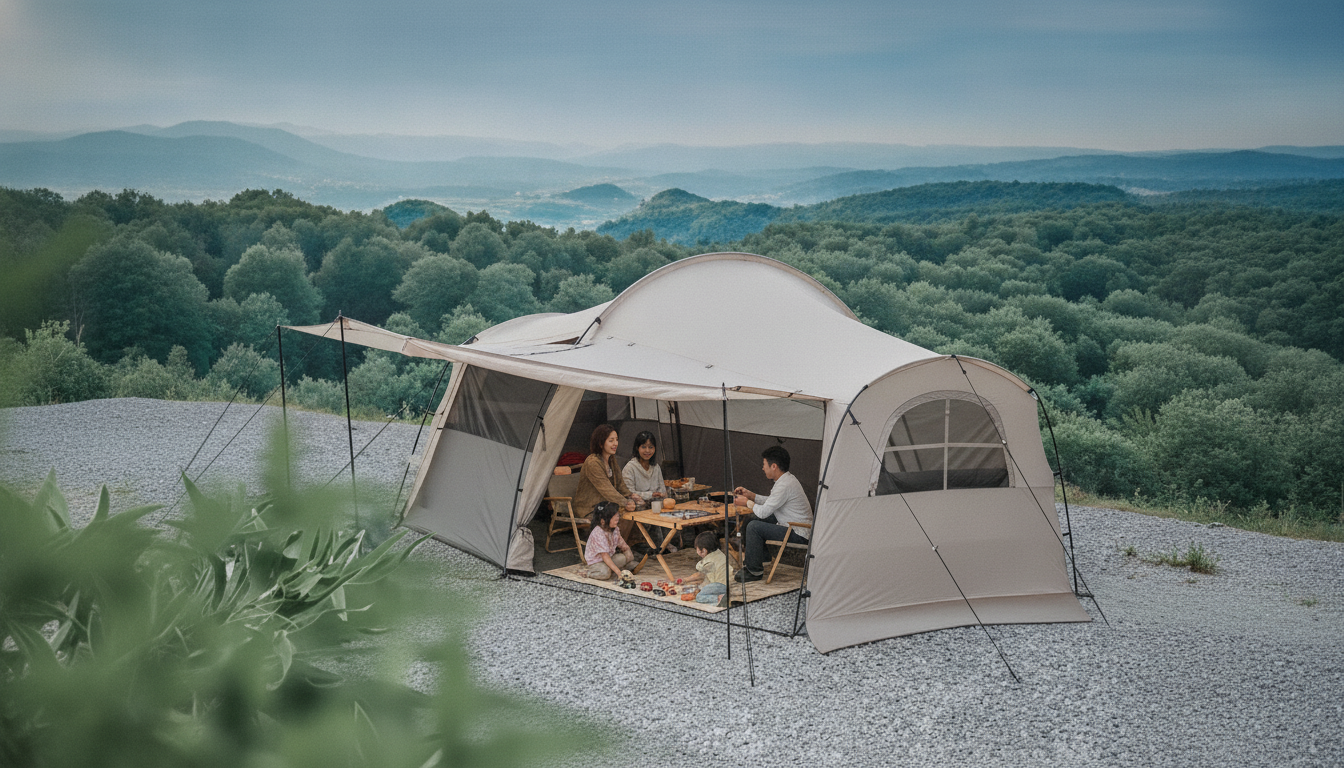
Living Room Outdoor Family Shelter Tent: A Weather-Ready Basecamp for Group Comfort
A spacious family shelter tent can turn a picnic site, campground, or backyard into a comfortable basecamp with shade, airflow, and room to gather. The right shelter isn’t just “bigger”—it’s easier to live in for hours at a time, with smart space, stable pitching, and practical weather protection. Below are the details that matter most so a group hangout space works smoothly from sunny afternoons to surprise drizzle.
What a “living room” shelter tent is designed to do
A living-room-style shelter tent is built to create a shared, covered area for meals, games, and relaxing—separate from sleeping tents. It’s also a flexible hub for gear: coolers, bags, strollers, pet supplies, and extra layers stay in one organized spot instead of scattered under chairs.
Many models add panels, mesh, or configurable doors that help block light wind, reduce bugs, and manage sun angles. The end result is a more comfortable “group room” that fits beach days, sports sidelines, festivals, backyard gatherings, and camping basecamps.
Space planning: capacity that feels comfortable, not crowded
Start with the main activity. Dining setups need more elbow room than lounging chairs, and kid-heavy groups need extra floor space for play plus a clean corner for snacks and wipes. When estimating capacity, count “seated bodies” and bulky items (coolers, storage bins, wagons) separately—those big items often eat up the usable center lane.
Plan entry/exit from the beginning. A clear path to the door prevents people from stepping over bags and also reduces the chance of tripping on guy lines when someone runs out to grab a jacket.
| Scenario | Typical items inside | Space tip |
|---|---|---|
| Day shade lounge | 4–6 camp chairs, small side table, tote bags | Place chairs around the edges to keep a clear center lane |
| Family meal setup | Folding table, 4–6 seats, cooler | Keep cooler near the door to reduce trips across the floor |
| Rainy-day hangout | Chairs, games, extra layers, wet shoes | Use one corner as a “wet zone” with a mat or tarp |
| Sports sideline base | Chairs, stroller/wagon, drinks, jackets | Angle the opening away from wind and ball traffic |
Weather readiness: shade, wind, and rain considerations
For sun protection, broad canopy coverage matters, but so does being able to orient openings away from direct sun as it moves. Rotating the shelter (or changing which panel is open) can keep the “living area” shaded longer without everyone chasing shadows.
Wind is the big variable because large shelters catch gusts. Use all guy lines and stakes—even in calm conditions—so you’re not reacting when the wind picks up. On hard ground where stakes are limited, add weighted anchors and keep tension balanced on opposite corners.
In rain, expect splash and runoff. Avoid pitching in low spots where water can pool, and keep gear slightly elevated (a bin lid, camp table, or even a folded tarp under bags helps). For safety, monitor forecasts and follow the National Weather Service guidance for lightning—if thunder is heard, move to a substantial shelter promptly (NWS Lightning Safety).
Condensation management matters during drizzly, cool periods. Prioritize vents or mesh panels and keep airflow moving when possible. In temperature swings, a simple layer stash for evenings and a shaded drink station during peak heat keeps the group comfortable without overpacking.
Setup fundamentals for a stable, square pitch
A stable shelter starts before the first pole goes in. Choose a flat spot with no overhead hazards (dead branches, loose limbs) and enough room to fully guy out corners. Lay out and square the footprint by aligning corners first—this reduces stress on poles and makes doors zip smoothly.
Comfort details that matter during long afternoons
For tick-prone areas, wear repellent, do routine checks, and keep a clean “gear edge” so shoes and socks aren’t buried in grass—CDC prevention guidance is a solid reference (CDC: Preventing Tick Bites).
Care, storage, and longevity
Store in a cool, dry place and avoid compressing the tent for long periods if possible. For field repairs, keep spare stakes, a small roll of repair tape, and an extra guy line. When camping, practice low-impact habits around the site and packing out waste in line with Leave No Trace guidance (Leave No Trace: Seven Principles).
When a family shelter tent is the right choice (and when it isn’t)
Recommended picks (in stock)
- Living Room Outdoor Family Shelter Tent — a dedicated communal shelter for meals, lounging, and weather-ready organization.
- 2pcs Set Reusable Baby Blanket Storage Bag — useful for separating dry layers from damp items, or keeping small essentials together inside the shelter.
- Calvin Klein Men’s Leather Wallet — a compact way to keep IDs and cards secure while moving between the campsite, beach lot, or concession stand.
FAQ
Can a family shelter tent handle rain?
Yes, it can provide a protected hangout area in light to moderate rain, but performance depends on a good pitch: taut fabric, proper guy lines, and a site that won’t collect runoff. Plan for splash by keeping gear elevated and avoiding low spots.
How do you keep a large shelter tent from blowing away?
Use every stake point and guy line, and add weighted anchors when you can’t stake securely (like on hard-packed ground). Aim openings away from the prevailing wind and avoid exposed areas during gusty conditions.
Do you need a floor or groundsheet under a shelter tent?
Many family shelters are designed without a sewn-in floor, so a groundsheet is optional but helpful for comfort and cleaner gear. Choose one slightly smaller than the roof footprint so rainwater doesn’t pool on top of it.













Leave a comment