Button Maker Machine Kit: Make Custom Pins & Badges
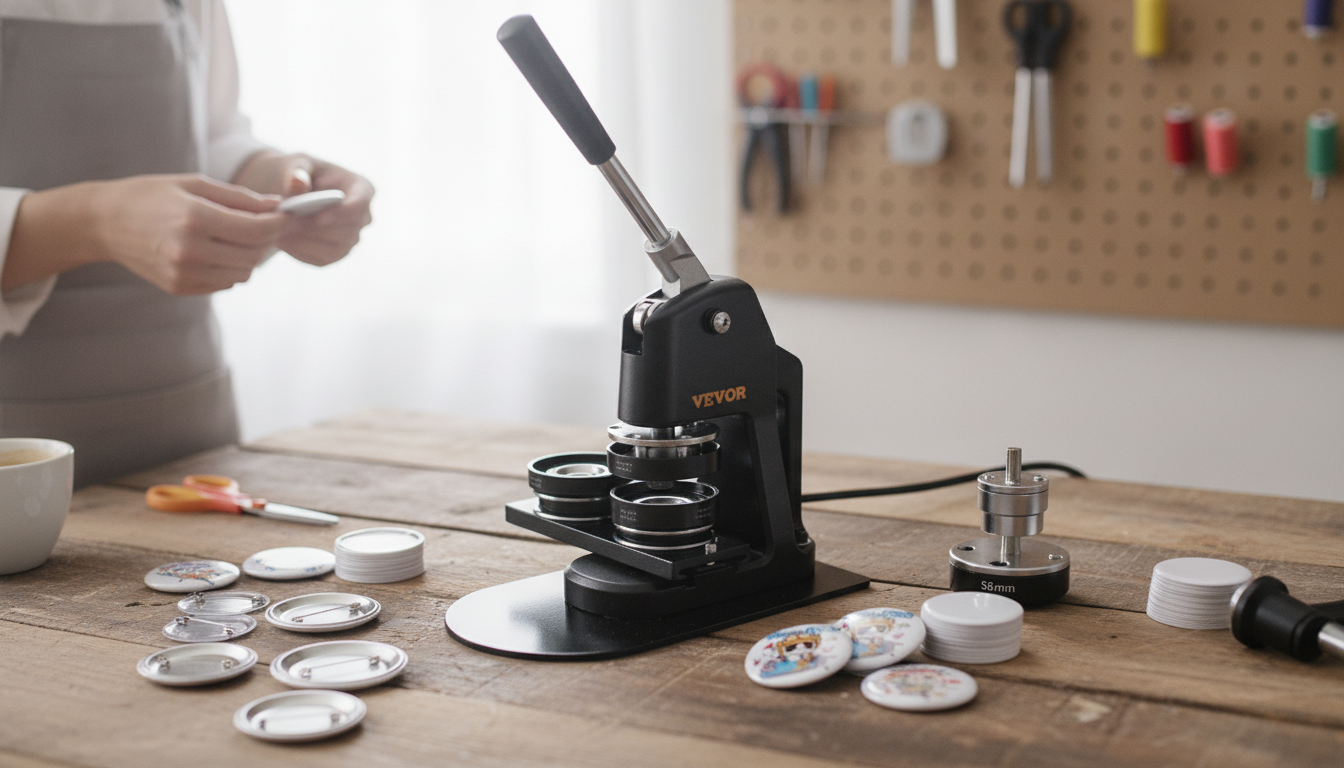
Button Maker Machine Kit for Custom Pins, Badges, and Crafts
A button maker machine kit turns printed designs into wearable pins, badges, and small keepsakes for clubs, events, classrooms, and small-batch sales. With the right setup, it’s easier to get clean crimps, centered graphics, and consistent results—without needing advanced tools or a complicated workflow. For background on how buttons and pin-back buttons fit into everyday culture and materials, see Encyclopaedia Britannica’s overview of buttons and Wikipedia’s page on pin-back buttons. For more guidance, see Button Makers | Cedar Park, TX.
What a button maker machine kit does
- Presses multiple button components together to form a finished pin or badge with a smooth, sealed face.
- Turns digital or hand-drawn art into tangible items for giveaways, team spirit, fundraisers, and merch tables.
- Supports repeatable production for small batches when paired with a simple cutting and layout routine.
- Pairs well with home printers and common paper types when the design is sized and aligned correctly.
Typical components included in a kit
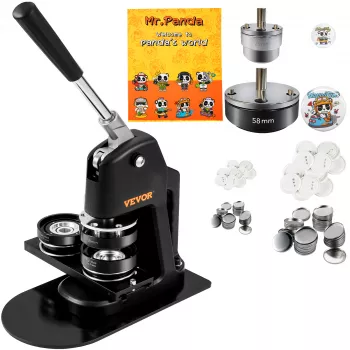
- Press machine body: provides the leverage needed for consistent crimping.
- Molds/dies: shape and align the button parts during pressing (often size-specific).
- Button parts (consumables): metal shells, clear protective covers, and pin backs (counts vary by kit).
- Basic tools: items such as a circle cutter or alignment aids may be included depending on the set.
- Setup basics: a stable, level work surface and good lighting help prevent misalignment and wrinkles.
How the button-making process works (simple workflow)
- Design and print: create artwork at the correct diameter with a safe margin so important elements stay away from the edge.
- Cut circles: use a circle cutter or template for clean edges and consistent sizing.
- Load parts in order: place the cover, artwork, and shell in the first station, then the back in the next station (sequence depends on the machine).
- Press with steady force: a smooth, complete press reduces wrinkles and improves the crimp.
- Inspect and repeat: check centering and edge seal, then adjust print sizing or cutting accuracy before producing a full batch.
A practical rhythm for group projects is to batch tasks: print everything first, cut all circles second, then run the press continuously. That approach reduces handling mistakes (like mixing backs or scratching covers) and keeps output more consistent. For further reading, see Button maker [kit].
Materials that influence button quality
- Paper weight: medium-weight paper often feeds reliably and forms neatly; very thick stock can resist forming and cause ripples.
- Ink choice: fully dried prints reduce smudging; allow extra dry time for high-coverage designs.
- Protective covers: clear covers help protect the face from moisture and scuffs.
- Back type: pin backs are common; some projects use alternative backs (magnets, keychains) when compatible with the die set.
- Cut accuracy: clean circles prevent edge bunching and improve the finished rim.
Quick checklist for smoother production
| Item | Purpose | Practical tip |
|---|---|---|
| Design template | Keeps text and logos centered | Leave a border margin so edges don’t crowd the crimp |
| Printer + paper | Produces the button face | Let prints dry fully before cutting and pressing |
| Circle cutter or template | Creates consistent circles | Replace blades when cuts start to fray |
| Stable work surface | Prevents shifting during pressing | Use a non-slip mat if the press moves |
| Batch bins or trays | Organizes parts and finished buttons | Separate shells, covers, and backs to avoid mix-ups |
Ways to use a button maker machine kit
- Events and promotions: name tags, branded pins, launch giveaways, conference swag.
- Schools and clubs: team spirit buttons, reading challenge rewards, club membership identifiers.
- Fundraisers: fast-to-produce items that can be priced for donation goals.
- Creators and small-batch sellers: themed drops, fan art (with appropriate rights), and limited-run designs.
- Personal milestones: birthdays, reunions, baby showers, and wedding welcome kits.
For classrooms and volunteer groups, a simple station layout helps: one table for printed sheets, one for cutting, and one for pressing and final inspection. A small “reject” cup for mis-cuts and an “adjustments” note card (circle size, print scaling, press force) can quickly improve results from the first batch to the next.
Common mistakes and quick fixes
- Wrinkles on the face: usually caused by oversized circles or uneven pressure; verify circle size and press in a smooth motion.
- Off-center designs: use a printed alignment guide and confirm the cut is true to the template.
- Loose edges or poor crimp: ensure the correct parts are paired and the press completes a full cycle.
- Bent or stiff pins: check the back component orientation and avoid forcing parts that feel mismatched.
- Slow output: pre-sort parts into small trays and cut all circles before starting the pressing run.
Care, storage, and safety basics
What to look for before buying a kit
Product option in stock
- Button Maker Machine Kit (In stock)
- 2pcs Set Reusable Baby Blanket Storage Bag (In stock) — useful for separating shells, covers, and backs so parts stay clean and easy to count.
FAQ
What paper works best for making buttons?
Medium-weight paper typically forms cleanly and feeds reliably, while very thick cardstock can resist shaping and create ripples. Let ink dry fully—especially on high-coverage designs—and test a small batch to confirm fit and crimp quality before producing a full run.
Why do my buttons come out wrinkled or uneven?
The most common causes are circles cut slightly too large, misalignment in the die, an incomplete press motion, or debris in the mold area. Resize circles to match your die, use an alignment guide, press smoothly through the full cycle, and keep the die stations clean.
Can a button maker be used for fundraisers and small-batch sales?
Yes—button makers are well-suited to quick, repeatable production when you batch the workflow (print, cut, press). Plan costs around consumables plus labor time, and use protective covers and careful storage so finished buttons hold up during handling and sales.












Leave a comment