Bi-Color + RGB LED Lighting Kit Guide for Photo & Video
Adjustable Bi-Color RGB LED Photography Lighting Kit: Accurate Color, Creative Effects, and Reliable Control
Consistent lighting is one of the fastest upgrades for photos and video—especially for portraits, product shoots, streaming, and short-form content. An adjustable bi-color RGB LED photography lighting kit makes it easier to match ambient light, keep skin tones flattering, and add controlled color accents without stacking gels or guessing camera settings. Below is a practical guide to what matters, when to use bi-color vs RGB, and how to build repeatable lighting that holds up from one shoot to the next. For more guidance, see Lighting – Loyola University Chicago.
What an Adjustable Bi-Color + RGB LED Kit Adds to a Setup
A modern LED kit combines everyday accuracy with creative flexibility, which is why it fits so many workflows—from online listings to interviews. For further reading, see Guides: Creative Media: Accessories – Baylor University.
- Bi-color control (warm to cool) for matching window light, tungsten practicals, or mixed indoor lighting
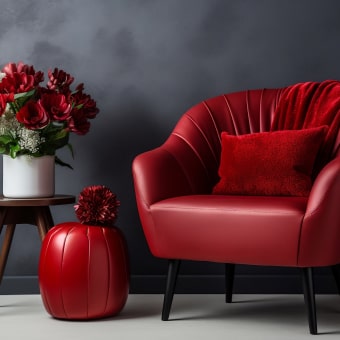
- RGB control for background washes, accent rims, and stylized looks without gels
- Dimming and fine adjustments to keep exposure stable while changing mood
- More predictable results than relying on auto white balance and room lights
- A single kit can cover interviews, headshots, product photography, and short-form video
Bi-Color vs RGB: When to Use Each Mode
Think of bi-color as the “truth” mode (natural color) and RGB as the “style” mode (creative color). The most reliable results often come from using both with a clear job for each light.
- Use bi-color when the goal is natural, clean skin tones and neutral product color
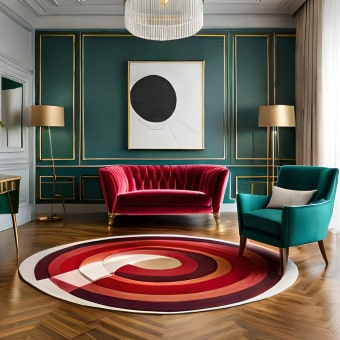
- Use RGB when the goal is separation from the background, brand color accents, or atmosphere
- Combine both: bi-color as the key light and RGB as a background or edge light
- Keep the key light neutral to maintain accurate color on faces and products, then stylize with RGB where color accuracy is less critical
Quick Lighting Mode Guide
| Scenario | Best mode | Why it works | Common setup note |
|---|---|---|---|
| Talking-head video / interviews | Bi-color | Matches room color temperature for natural skin | Place key at 30–45° and slightly above eye level |
| Product photos for online listings | Bi-color | Helps maintain accurate whites and brand colors | Diffuse the light; use a fill or reflector to soften shadows |
| Portraits with dramatic background | Bi-color + RGB | Natural face, colored separation behind | Set RGB to low intensity to avoid color spill on skin |
| Streaming / gaming / creator desk | RGB | Adds ambient color and depth quickly | Aim RGB at wall, not directly at face, for a smoother look |
Core Features That Matter Most
Specs are useful, but daily usability comes from how smoothly the light adjusts and how consistent it looks on camera.
- Brightness range and smooth dimming: Precise control helps you hold exposure without stepping or flicker.
- Color temperature range: Warm settings read cozy; cooler settings feel clean and daylight-like.
- Color accuracy and consistency: Consistent output makes matching shots easier, especially for product color and skin.
- Effects and presets: Helpful for practical simulations (TV, party, emergency) when used subtly.
- Mounting and positioning: Height, angle, and distance shape shadows more than most people expect.
- Power options: Plan for runtime if you’re on-location; prioritize stability if you’re studio-based.
Fast Setups That Look Professional
1) One-light setup (clean and flattering)
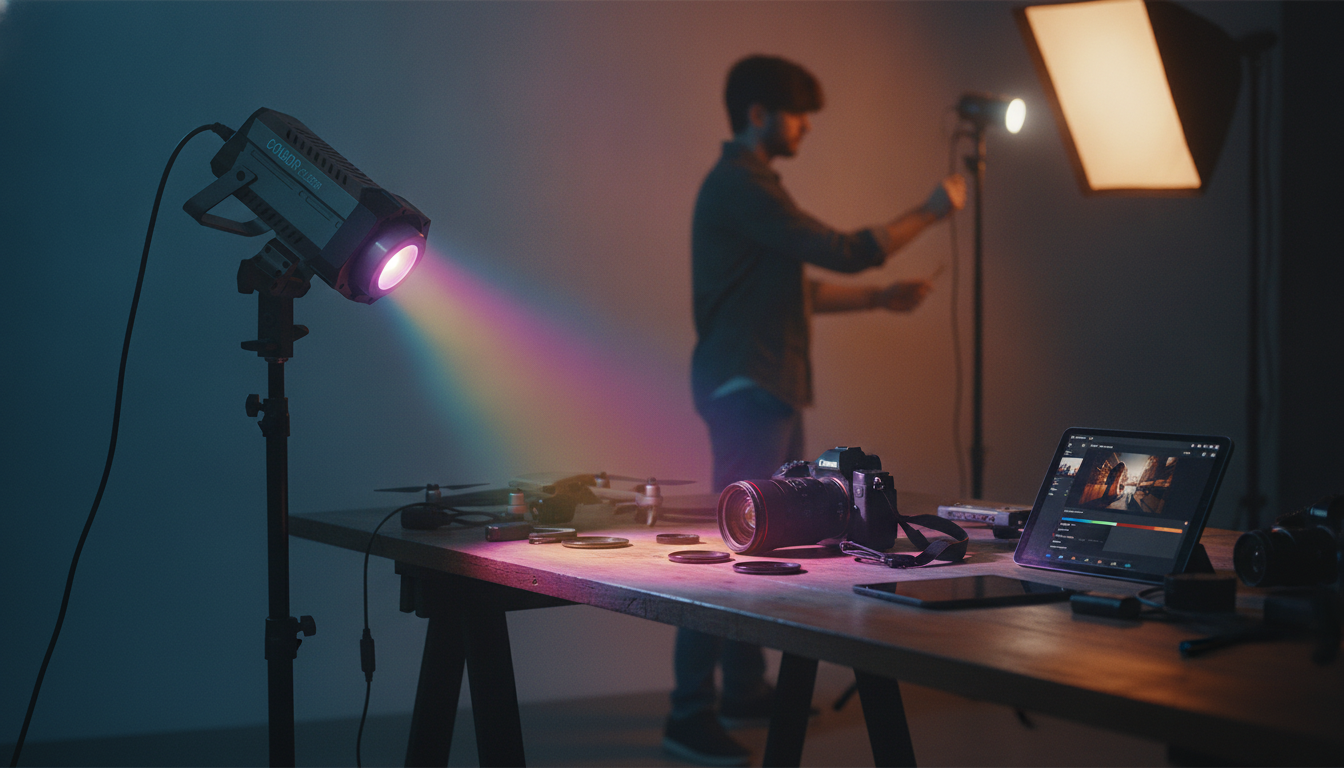
Place the light 30–45° off camera and slightly above eye level, then add diffusion. This creates a natural shadow on the far cheek and avoids the “flashlight” look.
2) Two-point look (contrast without harshness)
Add a reflector opposite the key, or use a dim fill light. The goal is to lift shadow detail while keeping shape in the face or product.
3) Background color wash (depth in seconds)
Put the RGB light a few feet from the wall and start at low intensity. A gentle wash reads more premium than a fully saturated blast, and it reduces color spill onto your subject.
4) Hair/rim separation (subtle edge that pops)
Use a neutral or lightly colored light behind and above the subject, aimed at the shoulders/hair. Keep it controlled so it outlines without flaring into the lens.
5) Product tabletop (repeatable for listings)
Practical Tips for Color Temperature and White Balance
For deeper background on camera behavior, see white balance and color temperature.
Making Light Softer (Without Guesswork)
Care, Safety, and Long-Term Reliability
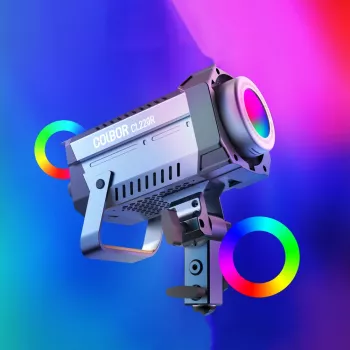
A Ready-to-Use Option
For a single-kit solution that supports both bi-color accuracy and RGB creativity, the Adjustable Bi-Color RGB LED Photography Lighting Kit is designed for photo and video setups where repeatability matters—portraits, product photography, livestreaming, and creator content.
To keep a small studio setup tidy, it also helps to organize cables and accessories between sessions. Simple storage options like the 2pcs Set Reusable Baby Blanket Storage Bag can work well for separating power supplies, clamps, and diffusion fabrics. If you frequently shoot on-location, a compact everyday carry item like the Calvin Klein Men’s Leather Wallet can help keep essentials streamlined while traveling to sets.
FAQ
Does RGB lighting make skin tones look unnatural?
It can if RGB is used as the main light. For natural skin, keep your key light in bi-color/neutral mode and use RGB at lower intensity on the background or as a subtle rim to avoid tinting faces.
What color temperature should be used for indoor video?
Match the dominant light in the room: warm lamps are often around 2700–3200K, neutral interiors around 4000K, and daylight-balanced looks around 5600K. Lock white balance when possible and avoid mixing multiple competing sources.
How can harsh shadows be reduced with LED panels?
Add diffusion or bounce the light to increase apparent size, then move the light closer to soften edges. A reflector or low-power fill light can lift shadows without flattening, while a separate low-intensity RGB wash can add background depth.


Leave a comment